How to Ensure That Custom Packaging Boxes Meet Specific Brand Requirements?
2026-04-11 03:33:25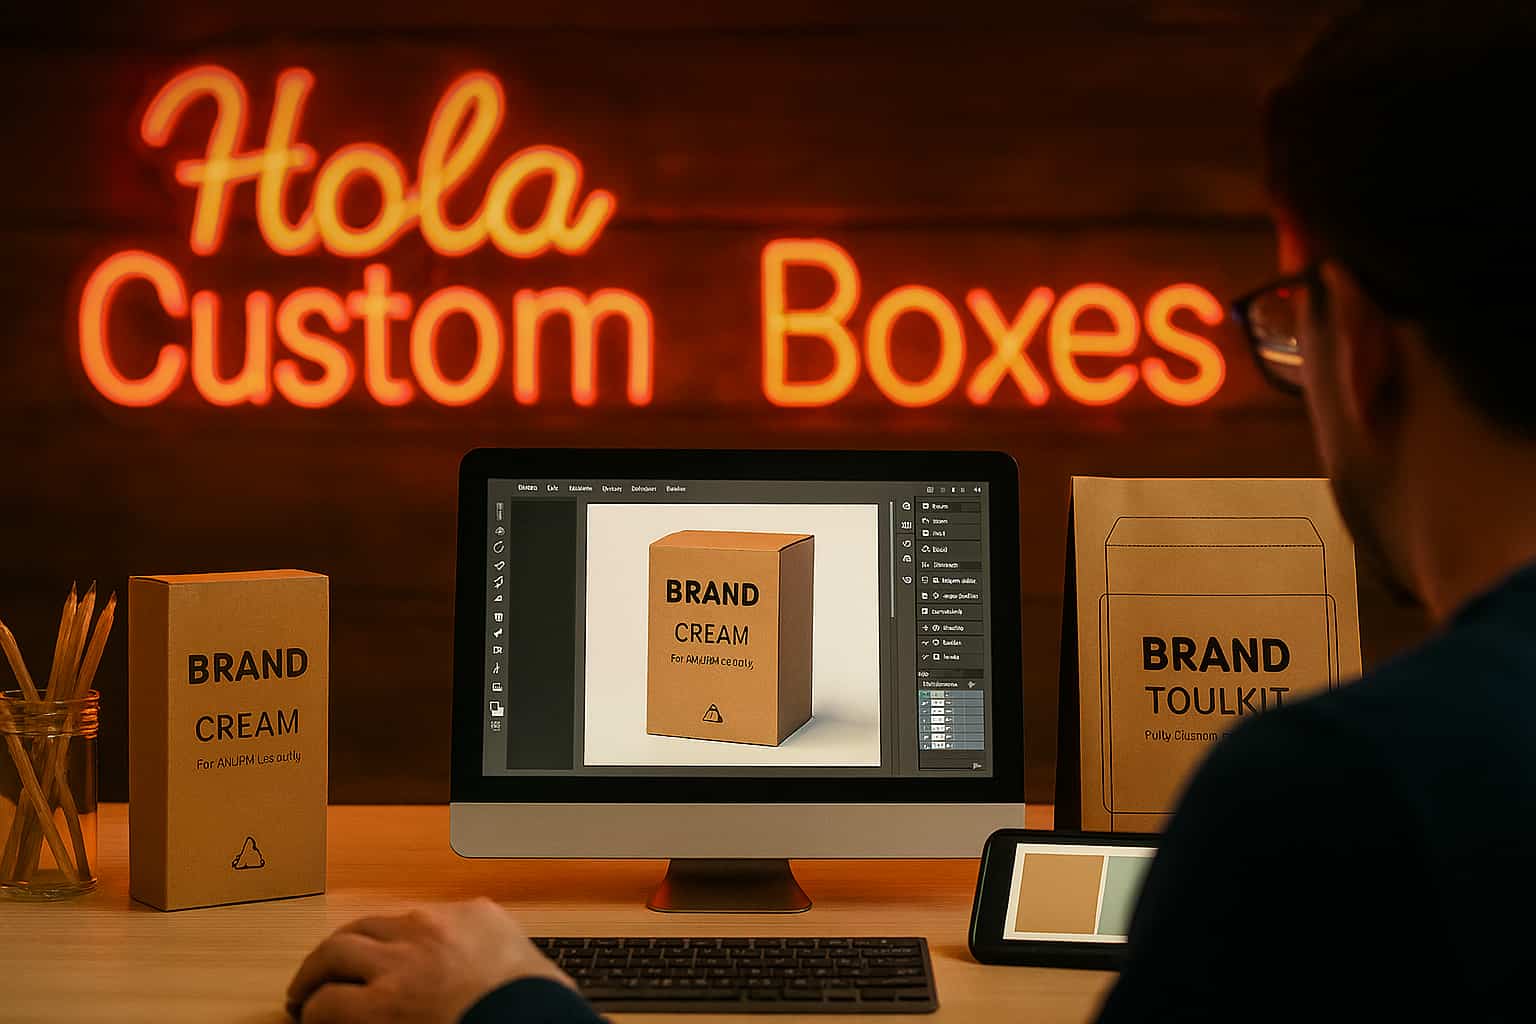
How to Ensure That Custom Packaging Boxes Meet Specific Brand Requirements?
To guarantee custom packaging boxes meet your brand requirements, you'll need to document your visual identity, specify exact Pantone color codes, and define product dimensions before placing any order. Choose materials that support both print quality and structural integrity, then request physical prototypes and press proofs to catch errors early. Build a repeatable quality control checklist to inspect every production run. Keep exploring to uncover each step in detail.
Main Points
- Document your brand's visual identity, including logo, color palette, typography, and design guidelines, to establish clear packaging specifications from the start.
- Share exact Pantone color codes and request physical press proofs to ensure printed colors consistently match your approved brand palette.
- Request physical prototypes rather than relying solely on digital mockups to catch structural weaknesses and dimensional errors early.
- Implement a quality control checklist to inspect each production batch for color accuracy, typography clarity, logo placement, and finish quality.
- Document all discrepancies and communicate issues directly to suppliers, requiring corrected proofs before approving future production runs.
Define Your Brand Requirements Before Ordering Custom Boxes
Before ordering custom packaging boxes, you'll need to clearly define your brand requirements to confirm the final product aligns with your business identity and goals.
Start by documenting your brand's visual identity, including your logo, color palette, typography, and design guidelines. These elements assure consistency across all packaging materials.
Documenting your logo, color palette, typography, and design guidelines ensures consistent visual identity across all packaging materials.
Next, identify your target audience and consider how your packaging should speak to them. A luxury brand requires premium finishes and elegant designs, while an eco-conscious brand benefits from sustainable materials and minimalist aesthetics.
You'll also want to specify your product dimensions, weight, and fragility to determine the appropriate box structure and material strength.
Consider your budget constraints, production volume, and distribution requirements, as these factors directly influence material choices and printing methods.
Finally, outline your brand messaging and any regulatory requirements, such as ingredient labels or safety warnings, that must appear on the packaging.
Working with a supplier that offers quick turnaround times can also help keep your packaging project aligned with launch schedules and approval deadlines.
Clear documentation prevents costly revisions later.
Choose Materials That Match Your Custom Packaging Standards
With your brand requirements documented, selecting the right materials becomes your next key decision. Different materials communicate different brand values, so you'll need to match your choice to your established standards.
Start by evaluating your product's physical needs. Fragile items require rigid corrugated cardboard, while lightweight products work well with folded paperboard. If sustainability is part of your brand identity, choose recycled or biodegradable materials that reflect that commitment. Eco-conscious brands can also benefit from recyclable cardboard and kraft paper options that align packaging performance with environmental responsibility.
Consider how materials affect print quality. Glossy coated stock delivers vibrant colors for luxury brands, while kraft paper creates a natural, eco-conscious aesthetic. Your chosen material must support the finishes, inks, and textures you've specified for your brand.
Don't overlook practical factors. Moisture resistance, durability during shipping, and structural integrity all influence material selection.
Request samples from your supplier before committing to a full order. Testing materials against your actual products guarantees you'll catch any structural or aesthetic mismatches early.
Work With Your Supplier to Nail Color Matching
Color accuracy can make or break your packaging's brand consistency, so you'll need to establish clear communication with your supplier from the start.
Share your exact Pantone color codes rather than relying on digital screen references, since monitors display colors differently and can mislead both parties.
Pantone codes eliminate guesswork — never let a monitor screen become the final word on your brand's colors.
Request physical press proofs before approving full production runs. These samples let you compare actual printed colors against your brand standards under different lighting conditions.
Don't skip this step, even when timelines feel tight.
Discuss your substrate choice with your supplier early, as different materials absorb ink differently. A glossy finish will render colors more vibrantly than kraft paper, so your Pantone selection may need slight adjustments depending on your chosen material.
Build a formal color approval process into your workflow. Document approved samples, keep reference swatches on file, and require your supplier to match those benchmarks consistently across every future order.
Get Box Structure and Dimensions Right From the Start
Getting the structure and dimensions of your box right matters just as much as the colors printed on it. A poorly sized box damages your product, wastes materials, and frustrates customers before they even see what's inside.
Start by measuring your product accurately, accounting for any inserts, padding, or accessories that'll ship alongside it. Share those exact measurements with your supplier and request a physical prototype before committing to a full production run.
Don't rely solely on digital mockups, since they won't reveal structural weaknesses or poor fitment.
Consider how your box will be shipped, stacked, and stored. A structure that looks great on a desk might collapse under warehouse conditions. Specify the board thickness and material grade your product requires, not just what looks good in a catalog.
Catching dimensional errors early saves you money, protects your product, and keeps your brand experience consistent from production to the customer's hands.
Request Physical Samples Before Full Production Begins
.webp)
Before you approve a full production run, request physical samples from your supplier. Samples reveal issues that digital mockups simply can't show, including color accuracy, material feel, and structural durability.
Don't skip this step, even when timelines feel tight.
Review each sample carefully by checking:
- Color matching – Compare printed colors against your brand's official color codes under consistent lighting.
- Material quality – Feel the thickness, texture, and finish to confirm they meet your specifications.
- Structural integrity – Fold, assemble, and stress-test the box to identify weak points or poor construction.
- Print clarity – Examine logos, text, and graphics for sharpness, alignment, and any smudging.
If a sample fails any of these checks, communicate the specific issues to your supplier immediately and request revised samples.
Approving production before you're fully satisfied guarantees costly mistakes that are difficult to reverse.
Build a Quality Control Process You Can Repeat Every Run
Once your samples are approved, you need a repeatable quality control process to catch defects before they reach your customers. Document every specification—dimensions, colors, materials, print alignment, and finish quality—into a single reference checklist your team uses every production run.
Assign someone to inspect incoming shipments against that checklist before boxes enter your warehouse. Check a random sample from each batch, not just the top layer. Look for color shifts, structural weak points, misaligned cuts, and inconsistent coatings.
Photograph defects when you find them and send documented evidence to your supplier immediately. This creates accountability and speeds up resolution. Keep records of each run's inspection results so you can spot patterns over time.
If defects exceed an acceptable threshold, reject the shipment and require a replacement. A repeatable process protects your brand, reduces costly mistakes, and gives your supplier clear expectations they're held to consistently.
Warning Signs Your Custom Packaging Is Off-Brand
How your packaging looks in person versus how it looked in your head reveals whether your branding translated correctly.
The gap between what you imagined and what arrived tells you everything about whether your branding worked.
If something feels off when you hold the finished box, trust that instinct and investigate before your next production run.
Watch for these warning signs:
- Colors look dull or inconsistent — printed shades don't match your approved brand palette across different boxes or surfaces.
- Fonts appear distorted or substituted — your typography looks stretched, blurry, or replaced with a default font entirely.
- Logo placement feels unbalanced — it's shifted, cropped, or sized differently than your original artwork specified.
- Finish doesn't match expectations — matte looks glossy, embossing feels flat, or textures appear uneven across the batch.
Any single issue can weaken how customers perceive your brand.
Document every discrepancy, communicate it directly to your supplier, and require corrected proofs before approving future orders.
Frequently Asked Questions
How Long Does Custom Packaging Production Typically Take From Order to Delivery?
Custom packaging production typically takes 2–4 weeks from order to delivery, but it can vary based on complexity.
You'll usually spend the first week finalizing your design and getting proofs approved.
Manufacturing then takes 1–2 weeks, followed by shipping. If you're ordering internationally, add extra transit time.
Always confirm your supplier's lead times upfront so you can plan your inventory and launch dates accordingly.
Can I Order Custom Packaging Boxes in Small Minimum Quantities?
Yes, you can order custom packaging boxes in small minimum quantities, especially with digital printing options.
Many suppliers offer low minimums, starting at 50–100 units, making it easier for small businesses and startups.
However, keep in mind that smaller orders typically cost more per unit.
You'll want to compare suppliers, as some specialize in short runs while others require larger quantities for custom designs.
What Happens if My Custom Packaging Boxes Are Damaged During Shipping?
If your custom packaging boxes arrive damaged, you'll want to document the damage immediately with photos.
Contact your supplier right away and report the issue with your evidence. Most reputable suppliers will replace damaged orders or issue a refund.
Always review the supplier's shipping damage policy before ordering.
You should also consider requesting insurance on future shipments to protect your investment.
Are There Eco-Friendly Options Available for Custom Branded Packaging Boxes?
Yes, you can absolutely find eco-friendly options for custom branded packaging boxes.
You'll discover materials like recycled cardboard, kraft paper, and biodegradable plastics that align with sustainable practices. Many suppliers now offer soy-based inks and water-based coatings to reduce environmental impact.
You can also choose FSC-certified materials, ensuring responsible sourcing. These options don't compromise quality, so you'll still achieve professional, branded packaging while meeting your sustainability goals.
How Do I Store Custom Packaging Boxes to Prevent Quality Deterioration?
Store your custom packaging boxes in a cool, dry place away from direct sunlight and moisture.
Keep them off the floor on pallets or shelves to prevent water damage.
Stack them carefully to avoid crushing, and don't overfill storage areas.
Use climate-controlled spaces when possible, and seal boxes in plastic wrapping if you're storing them long-term.
Regularly inspect them for signs of moisture, pests, or damage.
Final Thoughts
Your brand's packaging is often the first physical impression customers get, so you can't afford to let it fall short. By defining your requirements upfront, choosing the right materials, nailing color accuracy, and building repeatable quality checks, you'll consistently deliver boxes that reflect your brand. Don't skip sampling or rush production—catching problems early saves time and money while keeping your packaging exactly where it needs to be.