Small Batch Candle Packaging in USA: A Practical Guide by Hola Custom Boxes
2026-01-30 11:05:53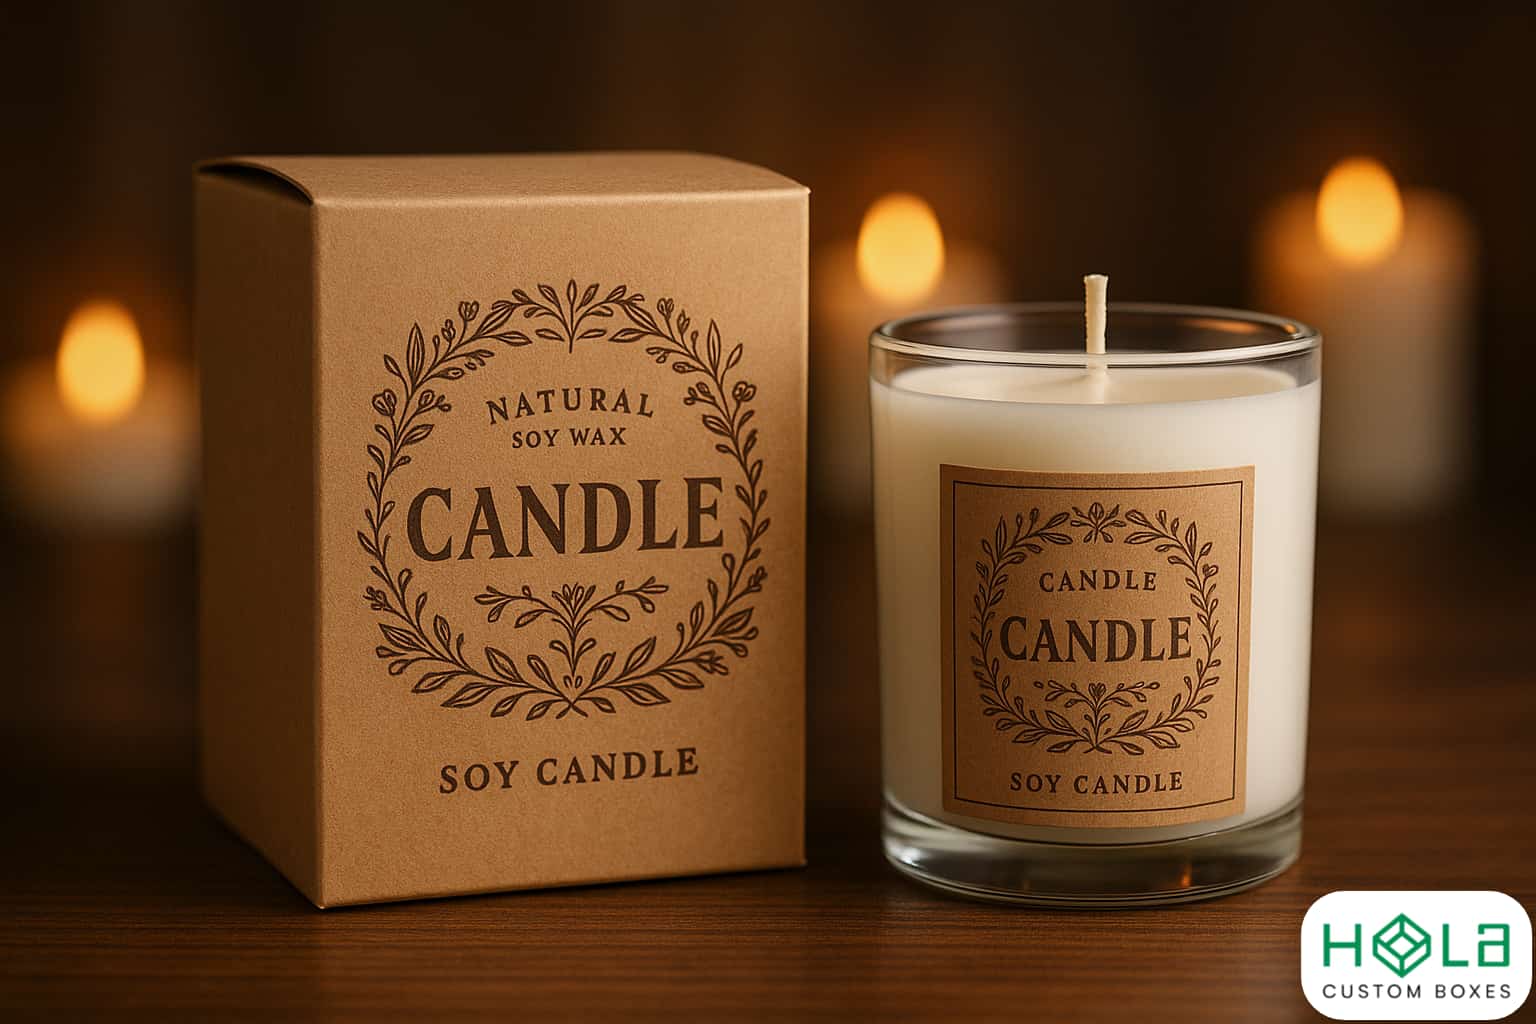
You’ll build small-batch candle packaging in the USA by matching the right carton style and board grade to your candle: straight-tuck-end or auto-lock bottom in 18–24 pt SBS for glass jars, reverse-tuck-end in 16–18 pt SBS or kraft for tins, and a 24 pt SBS sleeve over a 32 ECT tray for pillars. Size the dielines off the finished unit with 1/16–1/8 in clearance, then add an oil-resistant coating, tamper seals, venting, and inserts to prevent rattling. Keep going to see MOQ, lead times, and cost levers.
Main Points
- Choose carton style by candle type: straight-tuck or auto-lock for glass jars, reverse-tuck for tins, and reinforced sleeves for pillars.
- Measure finished candle diameter, height with lid, and label thickness; add 1.5–3 mm clearance for jars and tins.
- For shipping in the USA, use 200–275 lb test corrugated outer boxes with snug inner boxes and energy-absorbing buffers such as molded pulp or foam.
- Prevent jar movement with die-cut partitions or molded pulp inserts, plus top/bottom pads, keeping ~1/8–1/4 in total clearance.
- Specify scuff-resistant, oil-resistant coatings; tamper seals; and readable warning text. Consider venting if fragrance off-gassing is a concern.
Pick the Right Candle Box Style (Jar, Tin, Pillar)
The right candle box style starts with your container geometry, weight, and shipping requirements.
For glass jars, you’ll typically choose a straight-tuck-end or auto-lock bottom carton in 18–24 pt SBS, then add a corrugated insert or molded pulp cradle to control shock and side load.
For metal tins, use a reverse-tuck-end carton in 16–18 pt SBS or kraft; specify tight score depth to prevent panel spring and corner crush.
For pillars, prioritize column strength: a 24 pt SBS sleeve over a 32 ECT corrugated tray, or a full-height telescoping rigid box when wax edges must stay unmarked.
You’ll also spec oil-resistant coating, venting only if fragrance off-gassing is a concern, and tamper seals when retail demands it.
Size Small-Batch Candle Packaging for a Snug Fit
Precision starts with a dieline: measure your candle’s OD/width, height (including lid), and max bulge/label thickness, then size the carton’s inner dimensions to hold a 1/16–1/8 in (1.5–3 mm) clearance per side for jars and tins, or nearzero clearance with a slipfit sleeve for pillars.
Build your dieline around the finished, filled unit, not the empty vessel. Add tolerance for wax overpour, off-center wicks, and lid thread start.
For two-piece rigid setups, spec a base ID that clears the widest point, then set lid depth to cover the tallest edge plus 1/32 in.
For inserts, size the cavities to the candle’s max OD and lock height, with a shoulder to prevent rattle or rotation.
Pick Box Materials for Shipping Glass Candles
Material choices make or break a glass candle shipment, so start by pairing a crushresistant outer carton (200–275 lb test kraft corrugated; Eflute for compact mailers, Bflute for heavier jars) with a snug inner box or rigid wrap, then add an energyabsorbing buffer that won’t shed dust into wax (EVA/PE foam, molded pulp, or 1/8–1/4 in corrugated pads).
Choose kraft liners with 42–69 lb basis weight for puncture resistance, and spec waterbased inks and lowodor adhesives so fragrance stays clean. For humid routes, upgrade to moistureresistant (MRA) or waxfree barrier coatings and avoid recycled board that wicks oil.
Keep caliper consistent, score cleanly to prevent corner blowouts, and tape with 2–3 mil acrylic carton tape for coldweather hold.
Add Inserts to Keep Candle Jars From Rattling
Although your outer carton may pass a drop test on its own, you’ll stop glass jars from rattling only by locking each candle into a tight insert system—diecut corrugated partitions, molded pulp trays, or PE/EVA foam rings—sized to leave ~1/8–1/4 in total clearance and paired with top/bottom pads so the jar can’t shift laterally or “pump” vertically under vibration.
Spec inserts to jar OD/height, lid profile, and label thickness, then prototype with the actual vessel and fill weight. Use 32 ECT Bflute partitions for multipacks; add a center cell wall if jars exceed 3 in diameter.
Choose molded pulp with a 1.5–2.5 mm wall thickness for eco builds; specify crush strength to prevent settling. For foam, pick 2–4 lb/ft³ density and slit-fit rings. Tape or hotmelt tack inserts so they can’t migrate.
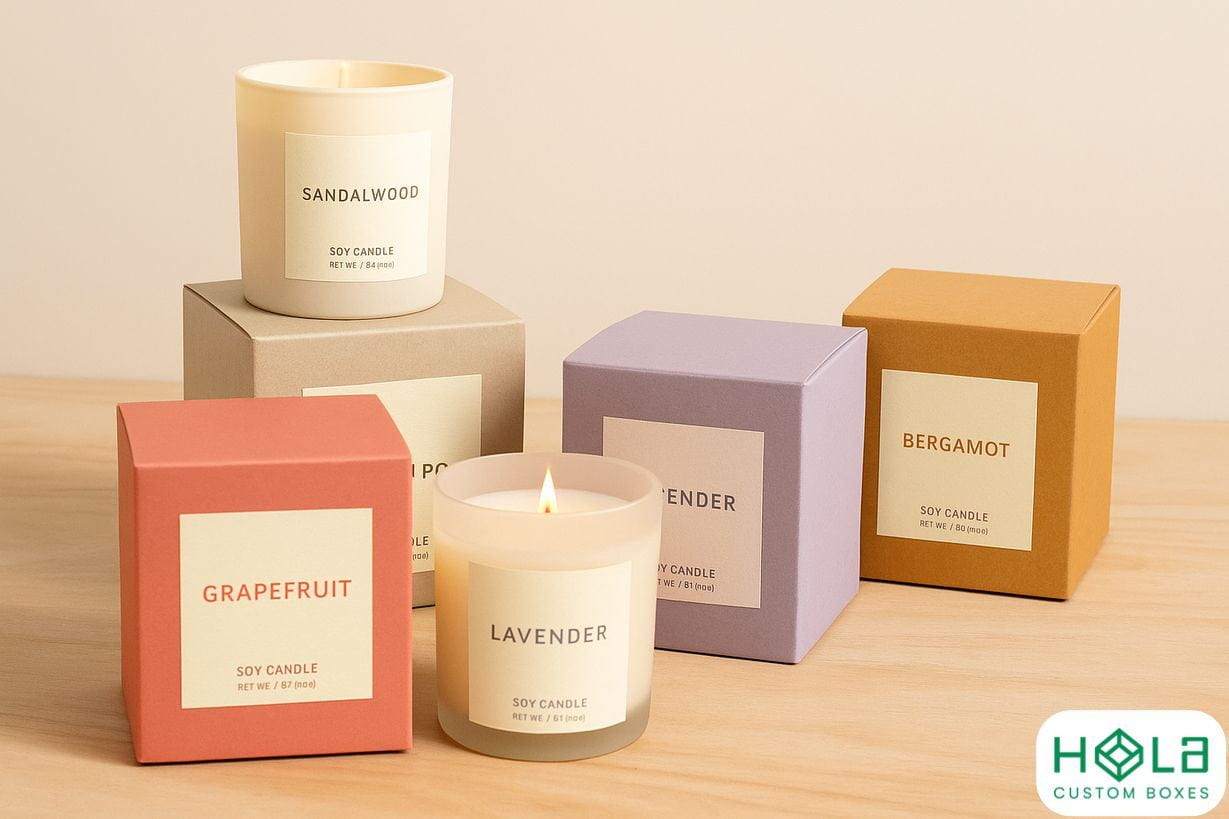
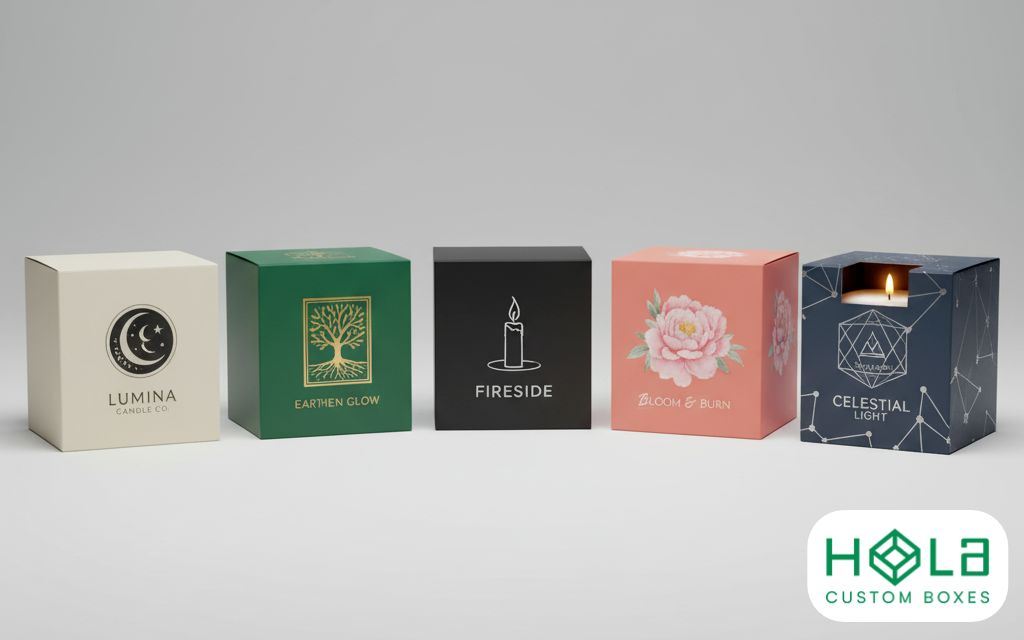
Design Candle Packaging: Logo, Color, Readability
Your box face works like a label panel—so spec it the same way: lock your logo into a consistent placement grid, choose a limited color system (Pantone/CMYK) that holds on your substrate and finish, and set minimum readable type sizes for key lines (scent, wax type, net wt, warnings).
Build a dieline-based layout with safe zones and bleed, then assign hierarchy: brand first, scent second, compliance third.
Keep type families to two weights, define tracking, and confirm small text survives dot gain on kraft or recycled SBS.
Specify contrast targets (dark-on-light or 100K on uncoated) and avoid rich black for tiny copy.
Proof with a wet-ink drawdown or press sheet, then sign off on a master art file.
Choose Budget-Friendly Finishes That Won’t Scuff
If you need a finish that survives shipping and shelf handling without blowing the budget, spec scuff resistance first and decoration second.
Start with a coated SBS or C1S/C2S paperboard; uncoated stocks burnish and show rub fast. For print, choose aqueous coating (gloss or satin) as your baseline: it’s quick, low-VOC, and adds slip to reduce abrasion.
Choose coated SBS or C1S/C2S to avoid burnish; use a gloss or satin aqueous coat for fast, low-VOC scuff protection.
If you need more durability, specify film lamination (BOPP matte or gloss) at 1.5–2.0 mil; add a scuff-resistant matte overlaminate if you’re using dark solids.
Keep foils and heavy embossing on recessed panels or small hits, and add spot UV only over laminate.
Always request rub-test data and a packed-out sample.
Order Small-Batch Candle Boxes: MOQ, Lead Time, Cost
Three numbers set your small-batch candle box order: MOQ, lead time, and unit cost—and each ties directly to the spec you choose.
You’ll usually hit the lowest MOQ with standard dielines, straight-tuck or reverse-tuck, and SBS or kraft in common calipers. When adding inserts, window film, foil, embossing, or custom tooling, MOQ increases because setup waste rises.
You control lead time by locking print method and materials early. Digital printing and in-stock board can ship faster; offset, specialty papers, and unique coatings add steps: proofing, plating, curing, and QC.
Unit cost tracks board weight, ink coverage, and assembly.
Reduce cost by limiting colors, using aqueous coating, skipping lamination, and choosing flat-packed shipping with simple glue points.
Frequently Asked Questions
Do I Need Warning Labels for Candles Sold in the USA?
Yes—you usually need warning labels for candles sold in the USA.
You should follow ASTM F2058 fire-safety labeling and include burn instructions, hazard pictograms or signal words, and key specs: keep away from combustibles, trim wick, burn time limits, and container-use notes.
You’ll apply labels to the container or outer carton, use durable, legible print, and document your label review for traceability, audits, and insurance.
Can You Print QR Codes Linking to Care Instructions or Videos?
Yes—you can print QR codes that link to care instructions, safety pages, or videos.
You’ll generate a URL, create the QR in vector format (SVG/EPS), and place it in your label or carton artwork.
Keep it at least 0.5 in (12–15 mm) square, use high contrast, and leave a quiet zone.
Print via digital/offset, then test-scan on matte/gloss stocks before production.
Are There Eco-Friendly Inks and Adhesives for Candle Packaging?
Yes—you can use eco-friendly inks and adhesives for candle packaging.
Roughly 70% of consumers prefer sustainable packaging, so spec choices matter. Specify water-based or soy/vegetable inks, low-VOC, and de-inkable for recycling.
Choose FSC-certified paperboard and compostable label stocks where appropriate.
For adhesives, select water-based acrylic or starch-based adhesives, and avoid hot-melt EVA when curbside recyclability is required.
Request supplier SDS and repulpability tests.
How Do I Package Candles for Extreme Heat During Summer Shipping?
You package candles for extreme heat by controlling temperature rise and preventing movement.
Use a rigid corrugated mailer (200# test or 32 ECT) with snug fit, then add molded pulp or foam inserts.
Seal with acrylic pressure-sensitive tape, not hot-melt.
Bag each candle in 2–4 mil poly and include an absorbent pad.
Ship early-week via 2day air, add “Do Not Leave in Sun” labels.
Can I Get Barcodes and SKU Printing Added to Each Box?
Yes—you can add barcodes and SKU printing to each box.
Think of it like giving every package a fingerprint. You’ll supply your UPC/EAN data and SKU list, then choose placement (panel or flap), size, and quiet zone specifications.
You’ll pick print method (digital or flexo), ink (black PMS), and substrate (kraft/white SBS).
You’ll approve a proof, run a scan test, then production.
Final Thoughts
When you package small-batch candles in the USA, you’ll win with measured materials, snug specs, and steady steps. Match the box style to jar, tin, or pillar, then size it for tight tolerance and clean corners. Choose sturdy corrugated or rigid board for shipping, and add inserts to prevent glass from rattling. Keep design crisp—clear logo, controlled color, readable type—and pick scuff-safe finishes. Finally, confirm MOQ, lead time, and cost before ordering.