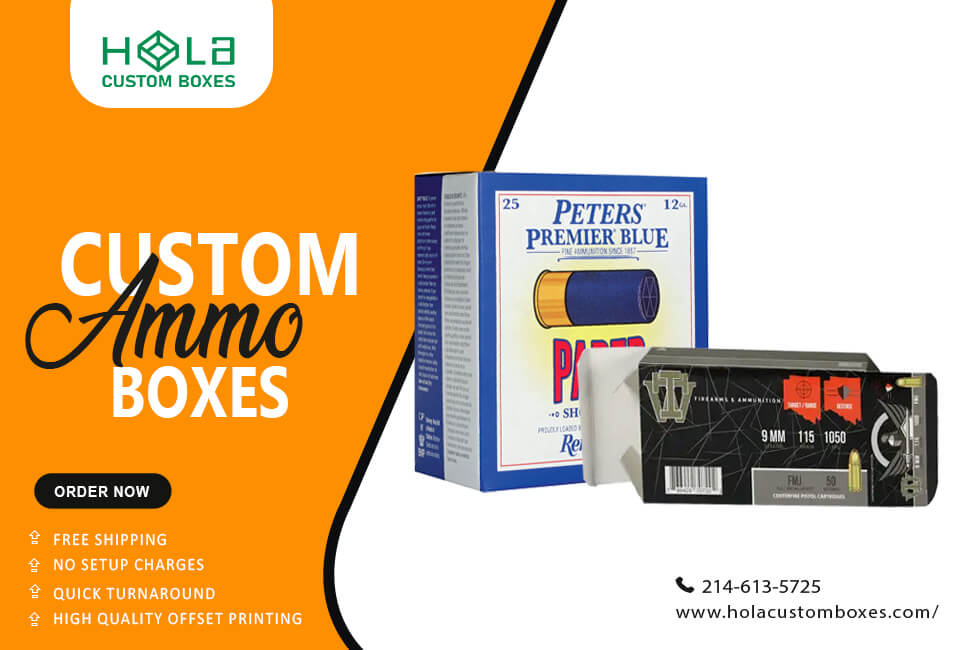
How to Order Custom Ammo Boxes Online: Artwork, Templates, Inserts & Shipping Overview
2026-01-09 22:31:05.jpg)
How to Order Custom Ammo Boxes Online: Artwork, Templates, Inserts & Shipping Overview
You can’t order custom ammo boxes online until you lock in the caliber fit, box style, and quantity, because those choices drive the dieline template and every artwork detail that follows. You’ll also need to decide on board strength, coatings, and whether inserts or dividers are worth it for shipping protection. Then you’ll add required labels, confirm bleed and safe zones, and approve a proof—before small mistakes start costing you time and reprints…
Main Points
- Confirm caliber, cartridge dimensions, and rounds per box to choose the right box style, interior clearance, and minimum order quantity.
- Request the supplier’s dieline template and follow bleed/safe zones so artwork avoids cut lines, folds, and glue areas.
- Submit print-ready CMYK files at 300 DPI with outlined fonts, embedded images, compliant labeling, and scannable barcodes with proper quiet zones.
- Specify durability needs—board strength, coatings, and inserts like dividers or foam—to prevent rattling and damage during shipping.
- Plan timelines around proof approvals, production steps, and transit, and avoid late changes that restart prepress and delay delivery.
Start With Size, Caliber Fit, and Quantity
Before you upload artwork or pick finishes, nail down the fundamentals: box size, caliber fit, and how many units you need.
Start by confirming your cartridge dimensions and count per box (20, 25, 50, or specialty). Measure overall length, rim diameter, and bullet profile so the internal cavity and headspace don’t rattle or crush tips.
If you’re using trays or dividers, size the interior around those components, not just the ammo. Decide whether you need extra room for desiccant, labels, or a safety leaflet, and account for wall thickness and tolerances.
Next, set quantity based on your sales plan and budget: small runs cost more per unit but reduce inventory risk; larger runs lower unit price but raise storage and freight.
Ask for minimum order quantity, price breaks, and lead time so you can time launches and reorders accurately.
Choose a Box Style: Tuck, Sleeve, or Rigid
Once you’ve locked in size and pack count, choose a box style that matches how you’ll ship, store, and present your ammo.
Your three common options—tuck, sleeve, and rigid—each signal a different buying experience and workflow.
Pick a tuck box if you want a straightforward retail-ready carton that opens fast at the range and stacks neatly in cases.
It’s ideal when you need quick access and simple labeling panels for caliber and lot info.
Choose a sleeve if you’re pairing an inner tray with an outer wrap for cleaner branding, tamper evidence, or easy color changes across SKUs without redesigning the whole structure.
Go rigid when you’re selling premium bundles, collector runs, or gift sets and you want a box that feels like equipment, not packaging.
Also consider your fulfillment: tuck closes in one step, sleeves add an assembly step, and rigid ships bulkier.
Pick Board Strength and Coatings for Durability
Your box style sets the structure, but board strength and coatings determine how well it survives rough handling, weight, and moisture in shipping, storage, and range bags.
Start by matching caliper and paper weight to your load: lightweight cartons work for small-count boxes, while thicker SBS or kraft-based board resists crushing when you stack cases or ship long distances.
Ask your printer for edge-crush or burst guidance if you’re unsure, and consider double-wall corrugate for bulk outer packaging when carriers get rough.
Next, choose a coating that fits the environment. Gloss or matte aqueous coatings add scuff resistance and help ink stay clean; soft-touch elevates feel but can show rub marks without added protection.
Lamination (BOPP) gives the best moisture barrier and abrasion resistance, especially for humid storage. Spot UV adds durable highlights, but use it strategically on high-wear panels.
Always request a mailed sample or coated proof to test durability.
Decide if You Need Inserts or Dividers
Although a standard tuck box can hold loose rounds, inserts or dividers keep ammo indexed, reduce tip damage, and stop cartridges from rattling during shipping and range travel. You’ll want them most when you sell premium hunting loads, ship direct-to-consumer, or pack soft-tip bullets that can deform. For bulk range ammo, you may skip inserts to cut cost and speed packing, but expect more noise and scuffing.
Your use case | Best option | Why it helps |
20–50 round retail box | Paperboard tray insert | Presents rounds neatly, prevents contact |
Mixed calibers/varied OAL | Divider grid | Stops shifting, keeps headstamps separated |
Long-distance shipping | Foam/EVA insert | Absorbs shock, reduces denting |
Match pocket count to your round count, and confirm you can load it efficiently on your line. If you include a silica pack or QR card, allocate space so it doesn’t press on primers.
Get the Dieline Template (and Check Bleed/Safe Zones)
After you’ve decided whether inserts or dividers belong inside the box, lock in the outside structure by requesting the printer’s dieline template for your exact box style, board thickness, and closure.
A dieline shows every cut, fold, glue flap, and panel, so you’re not guessing where artwork lands on a tuck end or sleeve. Confirm the template matches your measurements and includes labels for front, back, sides, top, bottom, and manufacturer’s joint.
Next, review bleed and safe zones. Extend background colors, patterns, and photos past the cut line into the bleed so trimming won’t leave white slivers.
Keep critical items—logo, caliber callouts, warning text, barcodes, and batch info—inside the safe area so folds and edge cuts don’t clip them.
Watch for tight corners, dust flaps, and glue areas where ink can scuff or get hidden during assembly.
Set Up Print Files: CMYK, DPI, and Fonts
Once the dieline’s locked, set up print-ready files that the press can reproduce predictably: build the artwork in CMYK (not RGB), keep raster images at a true 300 DPI at final size, and either outline fonts or package them so nothing reflows at prepress.
Convert photos and gradients with the right CMYK profile (ask your printer which, like GRACoL or FOGRA), then soft-proof so reds, blues, and blacks don’t shift. Use rich black only for large fills; keep small text in 100% K for crisp edges.
Link images instead of pasting low-res previews, and check effective DPI in your layout app. Keep strokes above minimum thickness, and avoid hairlines.
If you outline type, save a copy with live text for edits. Export a PDF/X file, embed profiles, include bleed, and don’t downsample.
Add Required Labels and Compliance Info
.jpg)
A compliant ammo box design starts with the labels and legal copy you’re required to print, so pull those requirements before you finalize artwork.
Confirm what your market and carriers expect, then lock those elements into the dieline so they don’t get squeezed by branding later.
Place your caliber, cartridge name, quantity, and manufacturer/importer identity where they’re readable at a glance.
Add any mandated warning statements, age restrictions, and storage/handling cautions your jurisdiction requires.
If you ship, reserve space for shipping labels and barcodes, and keep them off folds, seams, and glue areas to prevent scan failures.
Match barcode specs (quiet zones, size, contrast) and avoid printing over heavy patterns.
Include lot or batch fields if you need traceability, and keep variable-data areas editable.
Before you approve, run a final checklist against current regulations and your fulfillment workflow.
Choose Finishes: Matte, Gloss, Foil, or UV
Wondering how your ammo boxes should look and feel in a customer’s hand? The finish you choose controls first impressions, scuff resistance, and how easily buyers read key details.
Matte looks premium and tactical, cuts glare under range lights, and hides fingerprints. Gloss boosts color saturation and contrast, making logos and product names pop, but it can show scratches and reflections.
Add foil when you want instant shelf impact: gold, silver, or holographic accents make your brand mark, caliber callouts, or limited-edition text stand out. Use it sparingly so it feels intentional, not busy.
Spot UV adds a raised, glossy highlight over specific areas—like your emblem or a warning icon—while keeping the rest matte for contrast. For maximum durability, pair lamination with selective effects.
Match your finish to where you sell, how you stack cartons, and the vibe your customers expect.
Proofing: What to Check Before You Approve
Before you hit “approve,” treat your proof like the last quality-control step between a clean concept and a costly reprint. Zoom in and read every panel: caliber, count, warnings, and company details. Check spelling, punctuation, and consistent capitalization, especially on side panels and bottom flaps.
Confirm dieline placement: make sure art doesn’t cross cut lines, glue areas, or folds, and keep key text inside the safe zone. Verify bleeds extend fully and that backgrounds don’t leave white slivers. Review barcode size, quiet zone, and scannability, and verify any required regulatory icons appear and stay legible.
Match colors to your intent: verify CMYK builds, spot colors, and foil/UV callouts. Inspect image resolution and black values to avoid muddy shadows.
Finally, approve the insert layout—dividers, trays, and labels—so rounds seat securely and don’t rattle in transit.
Timelines and Mistakes That Delay Production
Once you approve the proof, the clock starts on production—and small slipups can still push your ship date back days or weeks. Plan for press time, curing, die-cutting, gluing, and packing, then add transit. If you’re launching around hunting season, pad the schedule and lock decisions early.
Delay trigger | How you prevent it |
Late artwork revisions | Freeze copy and barcodes before proof |
Wrong dieline or size | Use the supplier template, don’t redraw |
Missing insert specs | Confirm foam, dividers, and cavity dimensions |
Unclear coatings/colors | Specify PMS, CMYK, finish, and spot UV |
Payment/approval lag | Pre-approve stakeholders and pay immediately |
You’ll also avoid delays by sending print-ready files (outlined fonts, embedded images, correct bleed) and responding to questions the same day. If you must change anything after approval, expect a reset on prepress and a new proof cycle.
Frequently Asked Questions
What Are the Minimum Order Quantities for Custom Ammo Boxes Online?
Minimum order quantities for custom ammo boxes online usually start around 100–250 boxes per size/design, though some vendors offer 50 for digital printing.
If you choose offset printing, you’ll often need 500–1,000+ to keep pricing reasonable.
You can lower MOQs by using standard box styles, shared dies, and fewer finishes.
You should ask if MOQs differ for inserts, dividers, or multiple SKUs in one run.
Can You Ship Directly to Multiple Addresses for Distributors or Retailers?
Yes—you can ship directly to multiple addresses for your distributors or retailers.
You’ll provide a ship-to list, quantities per location, and any routing labels or packing rules. You can split one order into multiple cartons and track each shipment separately.
You’ll pay separate freight charges per destination, and lead times may vary by lane.
Confirm address formats, liftgate needs, and delivery appointments before approval.
Do You Offer Eco-Friendly or Recyclable Materials for Ammo Packaging?
Yes—you can choose eco-friendly, recyclable materials for your ammo packaging.
You’ll get options like FSC-certified paperboard, recyclable corrugated cardboard, and water-based inks to reduce environmental impact.
If you need extra protection, you can add paper-based inserts instead of plastic, and we’ll recommend coatings that keep boxes durable while staying more recyclable.
Tell us your ammo type, weight, and shipping needs, and we’ll spec the greenest setup.
How Are Customs Duties and Taxes Handled for International Orders?
You’re responsible for customs duties and import taxes on international orders unless we state otherwise in your quote.
We’ll mark and document shipments accurately, but your carrier or local customs authority will assess the final charges at delivery or before release.
If you choose a Delivered Duty Paid (DDP) option, you’ll prepay duties and taxes upfront.
Otherwise, you’ll pay them on arrival.
We’ll help you estimate costs.
Can You Provide Samples Before Placing a Full Production Order?
Yes—you can request samples before you commit to full production.
You’ll typically choose between blank structural samples to confirm size and fit, or printed pre-production proofs to check colors, finishes, and artwork placement.
You’ll approve the sample and note any changes before mass printing starts.
Sample costs and shipping usually apply, and turnaround varies by complexity.
If you’re ordering internationally, you may still pay duties/taxes on sample shipments.
Final Thoughts
You’ll get custom ammo boxes delivered smoothly when you start with the right size, caliber, and quantity, then choose a sturdy style, board, and coating. If shipping demands extra protection, add inserts or dividers. Use the supplier’s dieline, respect bleed and safe zones, and place required labels correctly. Pick finishes that match your brand, then proof everything—spelling, colors, barcodes, and alignment. Confirm timelines and shipping early so production doesn’t stall.